Back to Metal: Repainting the garage
I’ve been spending the last couple of days on my forthcoming app Vehicle, M.D., the completely new successor to my popular OBD2 Expert, and recently I got distracted by the pictures in its garage. You can use your own vehicle photo, of course. But when you haven’t got one handy, a motorcycle deserves to look like a motorcycle, and a pick-up shouldn’t have to make do with a generic hatchback.
The app now has fifteen stock vehicle shapes, chosen from the VIN decoder’s body information where available, or by you. AI helped with the artwork, the code, and the typing here. Then I wanted to change their paint colours — which brought me back to Metal.
I’d already used it for RetroPlayer’s oscilloscope and the one in Paulinche, drawing audio waveforms with phosphor trails. This time I’m repainting vehicle illustrations. What surprised me was how little SwiftUI code it took :)
The wheels were coming along for the ride
My first attempt used SwiftUI’s hueRotation, saturation and brightness modifiers. Easy to write, easy to adjust, and rather disappointing once you look past the bodywork.
Turning the paint red also changed the glass. Choosing a dark colour dulled the headlamps and the chrome. Everything acquired that slightly cheap appearance of a picture with a coloured filter over it. SwiftUI was doing exactly what I’d asked: applying the transformation to the whole image.
I wanted to repaint the bodywork while retaining the tyres, seats, glass, lights and metal parts. A hue rotation has no idea which material a pixel belongs to. We had to give it that information.
A small material map
The stock illustrations share a pale teal paint colour and a transparent background. That common source colour gives us a useful starting point for finding the painted surfaces.
An offline Python tool generates an 8-bit paint mask for each illustration. White means “repaint this”, black means “keep the original”, and intermediate values soften the boundary. The tool combines hue, saturation, HSV value and opacity, so neutral chrome, dark rubber and the transparent silhouette tend to stay outside the selection.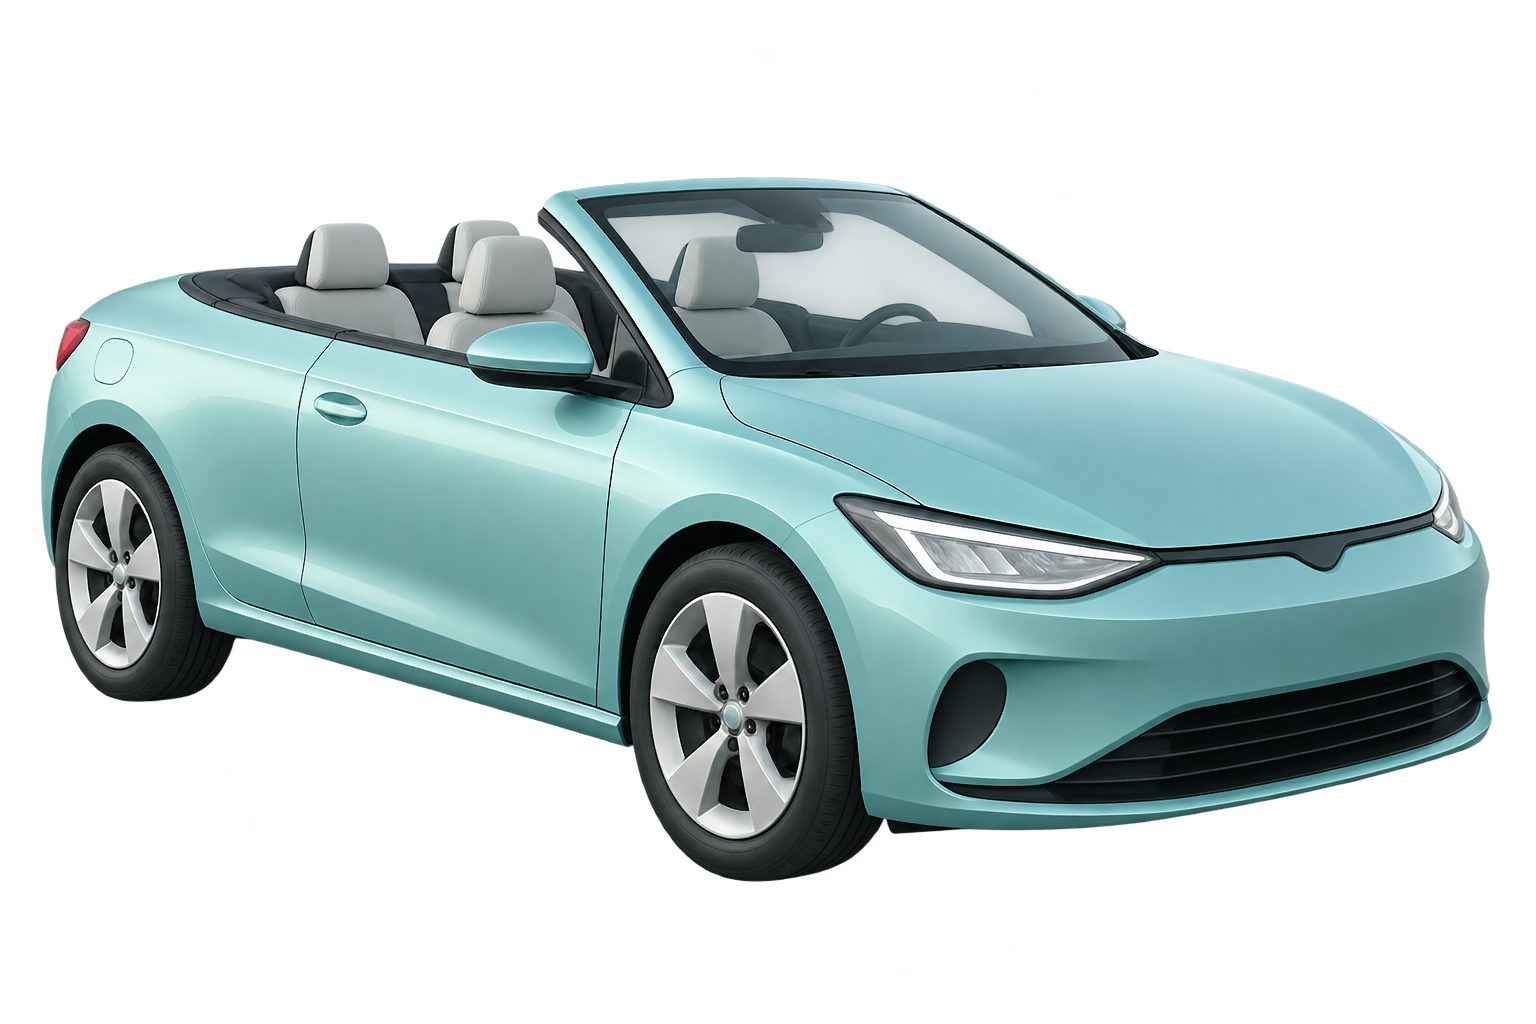
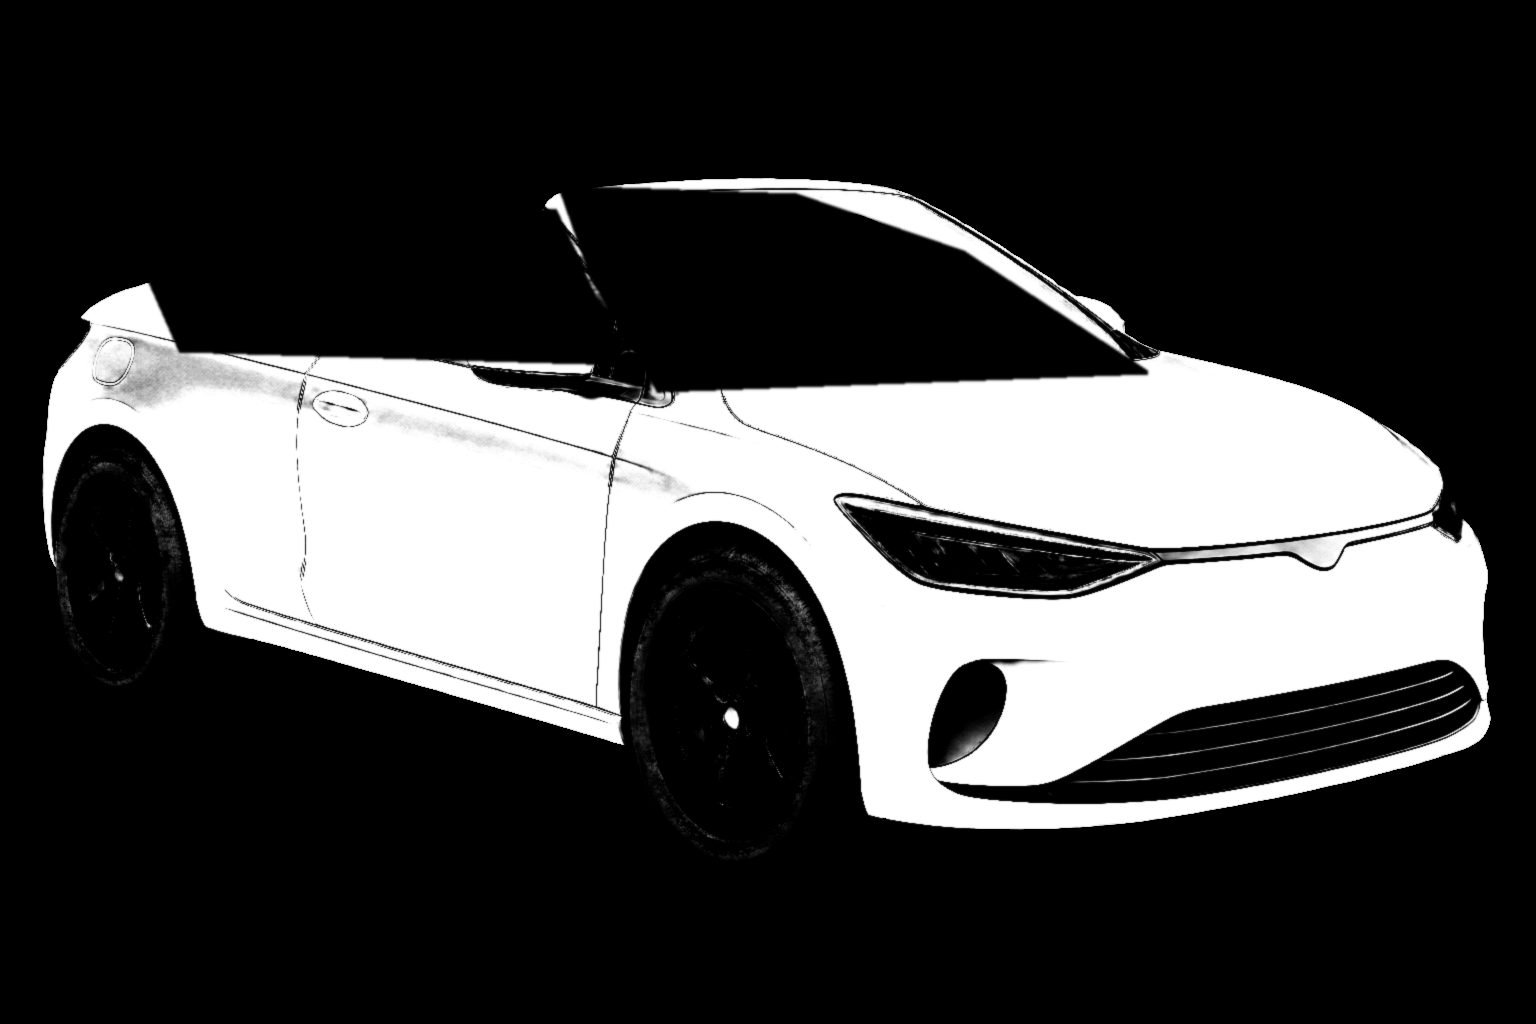

Colour alone still can’t distinguish a teal reflection in a window from teal paint. For the images with glass, we also review exclusion polygons to keep it out of the paint mask. The mask gets a little feathering, and the generator explicitly clears low-opacity edges again afterwards. I don’t want a coloured halo around a vehicle when the phone switches to Dark Mode.
The convertible’s windscreen keeps its original teal reflections even when the body is black; the mask deliberately leaves the glass alone.
All of this happens when preparing the assets. The app loads a finished mask; it doesn’t try to rediscover the bodywork every time you touch a colour swatch.
Keep the light, change the paint
Selecting the right pixels solves half the problem. Filling them with a solid colour would throw away the shading that makes the illustrations look three-dimensional.
For the other half, I used OKLab, Björn Ottosson’s perceptual colour space. It separates perceived lightness, L, from the two colour coordinates, a and b. That gives the shader a convenient way to change the paint colour while remapping its shadows and highlights.
Each illustration has a reference lightness: the median of its fully selected paint pixels. For the convertible, that’s 0.750595. The shader maps that reference to the lightness of the chosen swatch. Darker pixels scale below it; brighter pixels move towards white.
The core of the Metal function looks like this, with the colour-space conversions omitted:
float highlight = saturate(
    (sourceLab.x - paintLightness) / (1.0 - paintLightness)
);

float lightness = sourceLab.x <= paintLightness
    ? targetLab.x * sourceLab.x / paintLightness
    : mix(targetLab.x, 1.0, highlight);

float3 lab = float3(
    lightness,
    targetLab.yz * (1.0 - highlight)
);
That last line matters. As a reflection approaches white, its colourfulness decreases too. A bright reflection on a red bonnet can remain nearly white, and a black car can still have readable highlights. The lighting is already baked into the artwork; this mapping makes it useful for the new paint.
There’s one more detail: some combinations of lightness and saturated colour fall outside sRGB. The shader uses an eight-step binary search to reduce chroma until the colour fits, keeping its OKLab lightness and hue direction. Simply clipping the RGB channels could shift the colour we’re trying to preserve.
From MetalKit to a SwiftUI colour effect
In RetroPlayer, I hosted an MTKView in SwiftUI and managed the render pipelines, buffers and command encoding myself. For the garage illustrations, SwiftUI’s colour effects handle the rendering setup and let me provide the pixel function and its arguments. That’s the part I’d underestimated: a small image effect can be enough reason to use Metal.
The integration is an ordinary image view with one extra modifier:
let lab = color.perceptualColor

Image(illustration.paintAssetName)
    .resizable()
    .scaledToFit()
    .colorEffect(ShaderLibrary.vehiclePaint(
        .boundingRect,
        .image(Image(illustration.paintMaskAssetName)),
        .float3(lab.x, lab.y, lab.z),
        .float(illustration.paintLightness)
    ))
The Metal function is marked [[stitchable]]. SwiftUI supplies the pixel position and colour; we supply the image bounds, mask, target colour and reference lightness. The bounds let the shader sample the mask at the corresponding point, even when the same vehicle is shown as a large preview or a small garage thumbnail.
Pixels outside the mask return immediately. Selected pixels are unpremultiplied, converted from sRGB through linear RGB into OKLab, repainted, and converted back. The final blend uses the mask weight and restores the original alpha. That preserves the silhouette instead of painting over the antialiased edges.
Swift calculates the target’s three OKLab coordinates. Metal does the work for each displayed pixel. Changing a swatch changes the shader arguments; we don’t generate another bitmap on the CPU. Fifteen shapes and sixteen presets give us 240 combinations, with one source image and one mask per shape.
The rendering tests exercise all 240 combinations, compare unpainted materials against a reference rendering with an empty paint mask, and check the alpha handling. Where the surrounding mask is entirely clear, unpainted channels must stay within one 8-bit value of the original.
Your garage, your colours

The user-facing part is deliberately modest: pick a shape, scroll through sixteen colour suggestions, and apply. The automatic colour is a stable choice from the VIN and our palette, so your vehicle keeps its colour between app launches. You can override it, and your own photo takes precedence and stays untouched.
Meanwhile, my current motorcycle test vehicle is a simulation of BMW’s BMS-X engine ECU running in ECUmulator Studio on my test Mac. Recent work on that bench included making the ECUconnect Pro adapter deliver its identification data properly; the garage pictures were a rather welcome change of scenery after looking at CAN frames.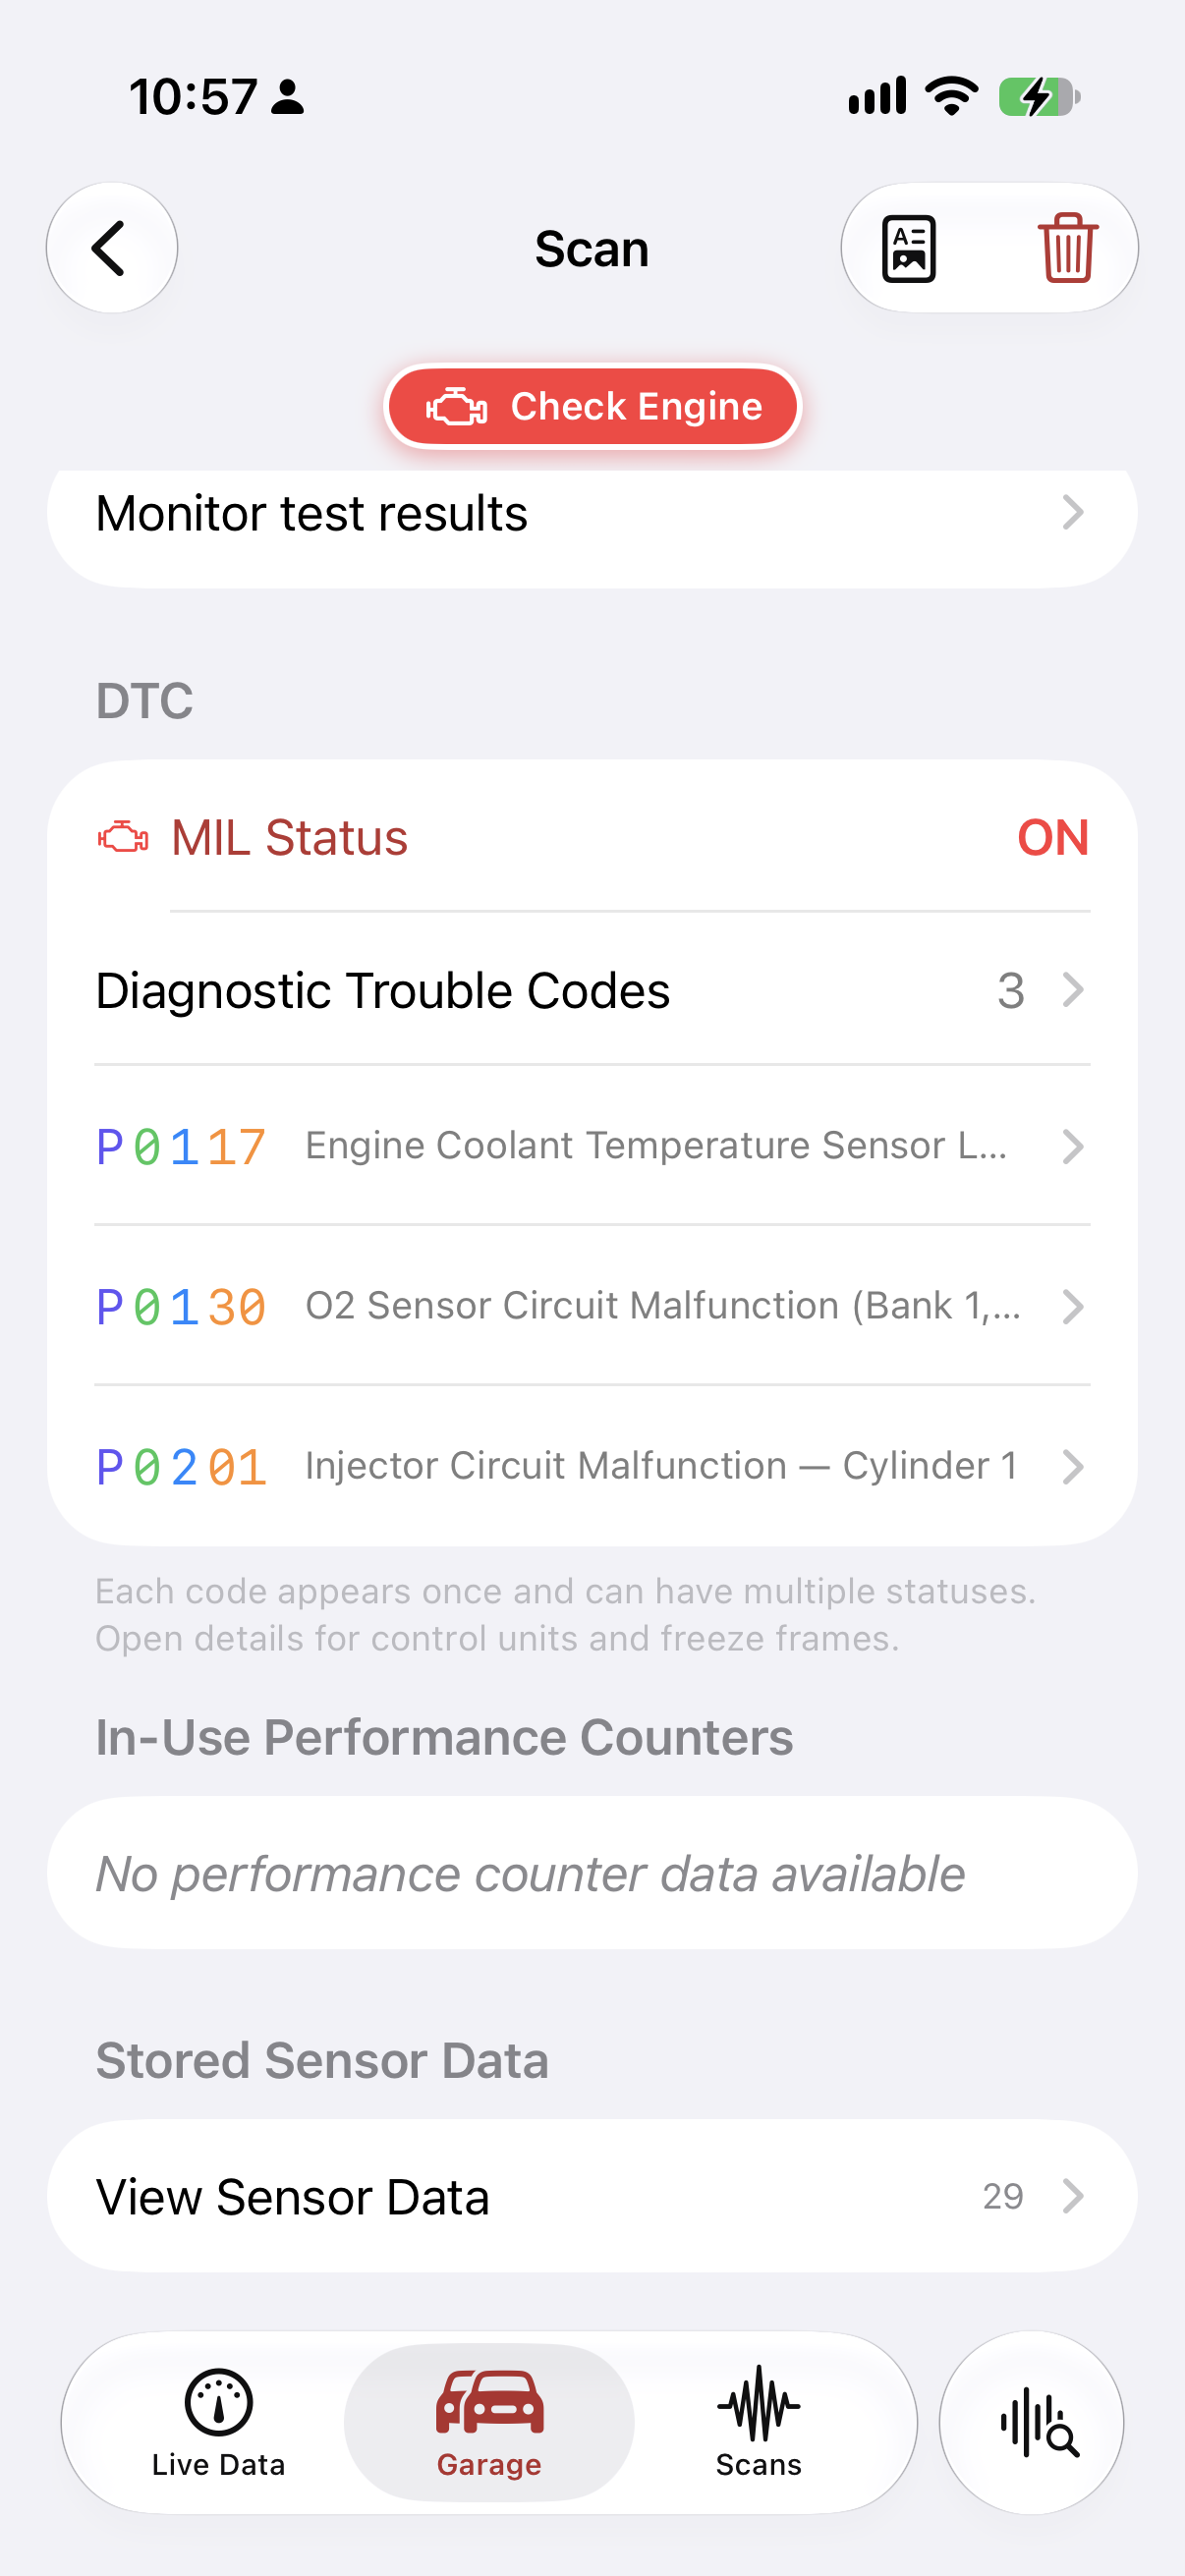
Vehicle, M.D. brings trouble codes, freeze frames, live dashboards, saved scans and recordings to iPhone and iPad, with PDF reports to take to the workshop. OBD2 Expert’s familiar purpose, with a new implementation and a much more personal garage. I’m preparing version 1.0 for release; it isn’t available yet. The product page has the practical details.
If you guys have been using OBD2 Expert, I’d love to hear what you’d want from its successor. And if you’ve been considering Metal for a small SwiftUI effect, I hope the garage gives you a useful place to start.
Cheers, :M: