ECUmulatorTouch — the ECU emulator I wanted to buy
I’ve finally got the ECU emulator I wanted sitting on my desk. The slightly ridiculous part is that I had to build it myself, but after years of putting up with other people’s emulators, this is rather satisfying :)
I’ve been working on automotive diagnostics since 2016. What started with reading data from cars has grown into apps, adapters, protocol libraries, and a bench that keeps acquiring more cables. Along the way I’ve spent far too much time struggling with bad ECU emulators. When you’re developing diagnostic software, you need a vehicle that gives you repeatable answers, lets you change the interesting bits, and helps you understand what your tester is doing. Getting that out of the available tools has been considerably more painful than I think it should be.
I wanted something I could put next to a diagnostic tester, switch on, and use. Change a value, set a fault, ask the same question again. See the CAN traffic while doing it. Keep a useful setup for tomorrow. And, preferably, enjoy looking at the thing instead of mentally redesigning its interface every time I touched it.
Well, it’s finished now, and it’s called ECUmulatorTouch. It’s the device I would have liked to buy for myself.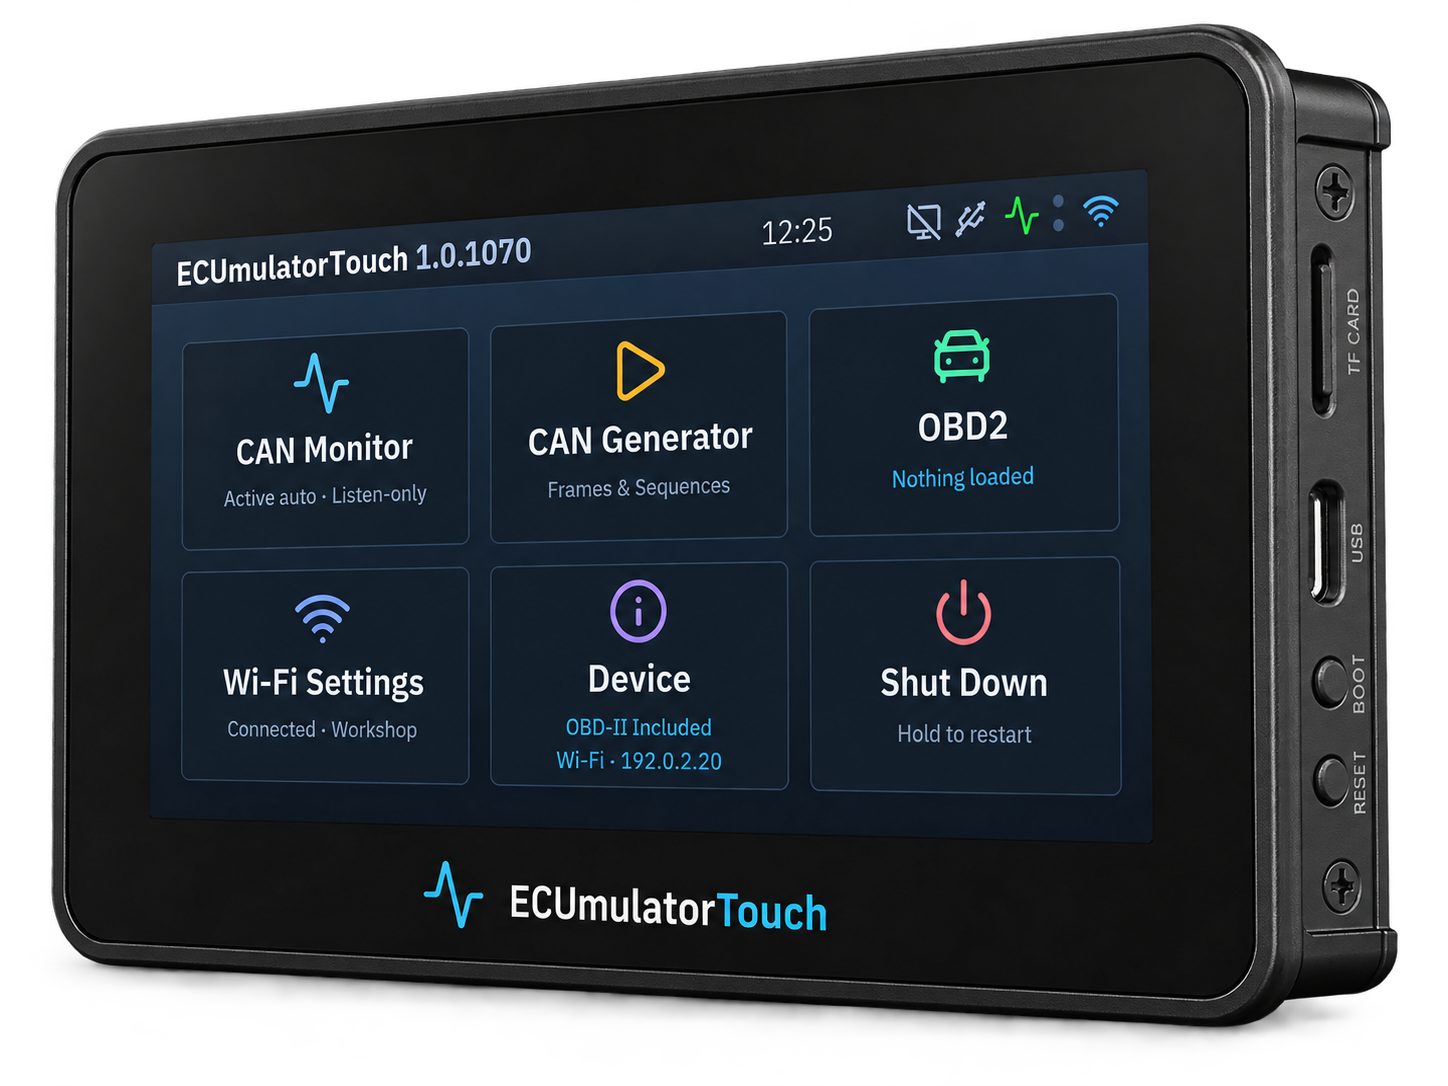
A vehicle on the desk
The standalone part starts with four OBD2 models: petrol or diesel, using 11-bit or 29-bit CAN addressing. Choose one, start the emulation, and connect your tester. You can change engine speed, road speed and coolant temperature, work with trouble codes and readiness, and edit identification data. The included models work offline, without a computer or activation.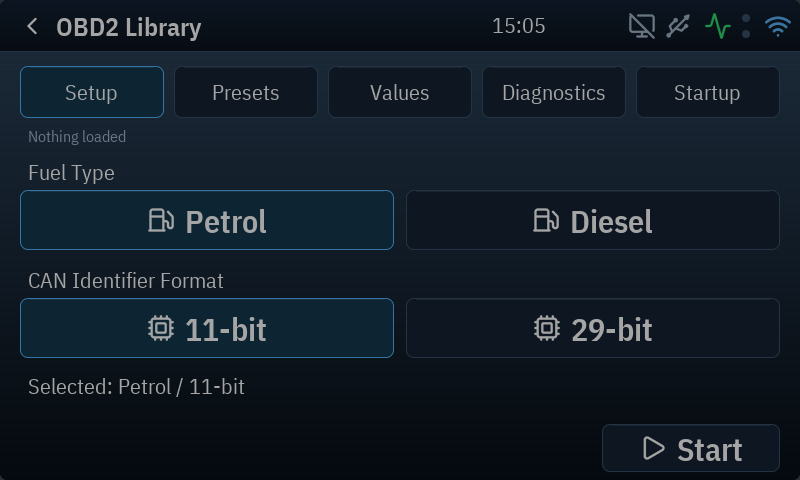
This is the part I care about most: I can put the scanner into a particular situation and then change that situation while watching its reaction. A hot engine, a different RPM, a fault that needs explaining. There’s a rather pleasant difference between imagining what an app might show and having a little box on the desk actually send it those answers.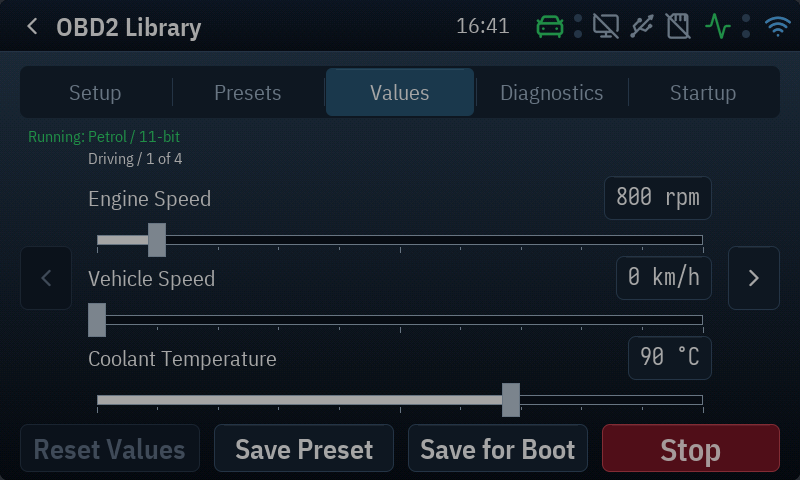
The CAN monitor stays available during emulation, and there’s a frame generator and SD recording as well. I’ve written about my Linux CAN tools before; this is the same wish for a more agreeable bench, with a touchscreen attached. With the optional Studio extension, I can also load custom vehicles from ECUmulator Studio and control the device over the network.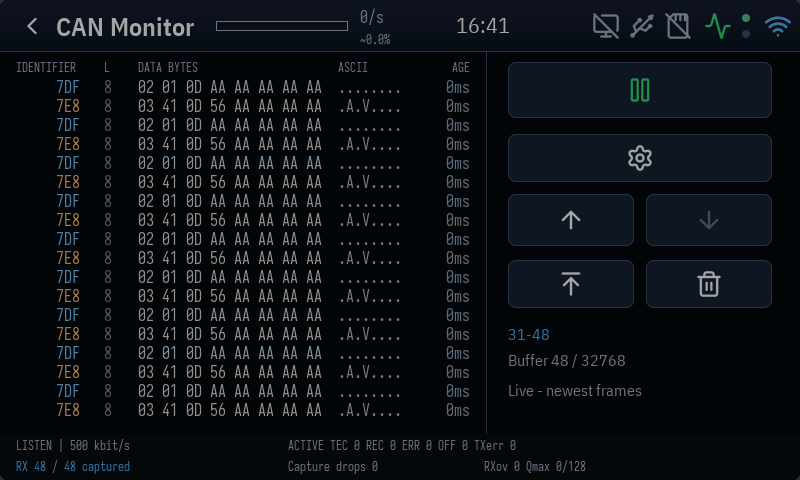
My own little instrument
Underneath the screen, this is the meeting point of years of work on my C++ diagnostic core and ESP32 programming. Back in 2023 I wrote about returning to C++ and promised to tell you what I was building. Well, here’s one fairly tangible answer.
The ESP32-S3 runs ESP-IDF and FreeRTOS. On top sits my own firmware stack: the shared C++ emulation core, the vehicle library, network control, storage, and the complete user interface. The same emulation core also runs on the desktop. CAN reception and diagnostic processing have their own high-priority tasks; painting the screen and handling network or storage work are scheduled around the diagnostic work.
I ended up building the UX and renderer in C++ too. Fixed layouts for the 800 × 480 display, antialiased IBM Plex Sans Condensed for the interface, Iosevka for the CAN data, and Lucide icons. Text and icons are prepared as glyph atlases; the device blends them into its framebuffers and redraws the areas that changed. I still like being able to decide what happens to the pixels on an embedded display.
The interaction model also runs on the host, so I can exercise the same screens and touch behavior in a preview before flashing the device. That has been particularly useful for all the small things: a button that activates on release, a hold that has to finish visibly, a dialog that keeps its state, or returning to the monitor while the simulated vehicle carries on answering. Those details make a tool pleasant to use, and I wanted to get them right.
About the box
For the 0-series, the hardware is a relabelled Waveshare 4.3-inch BOX. It gave me a ready-made enclosure, display and ESP32-S3 platform on which to build the instrument. If ECUmulatorTouch sells well enough, I plan to build fully custom hardware for it. For now, this is the box my software lives in, and I’m quite fond of it.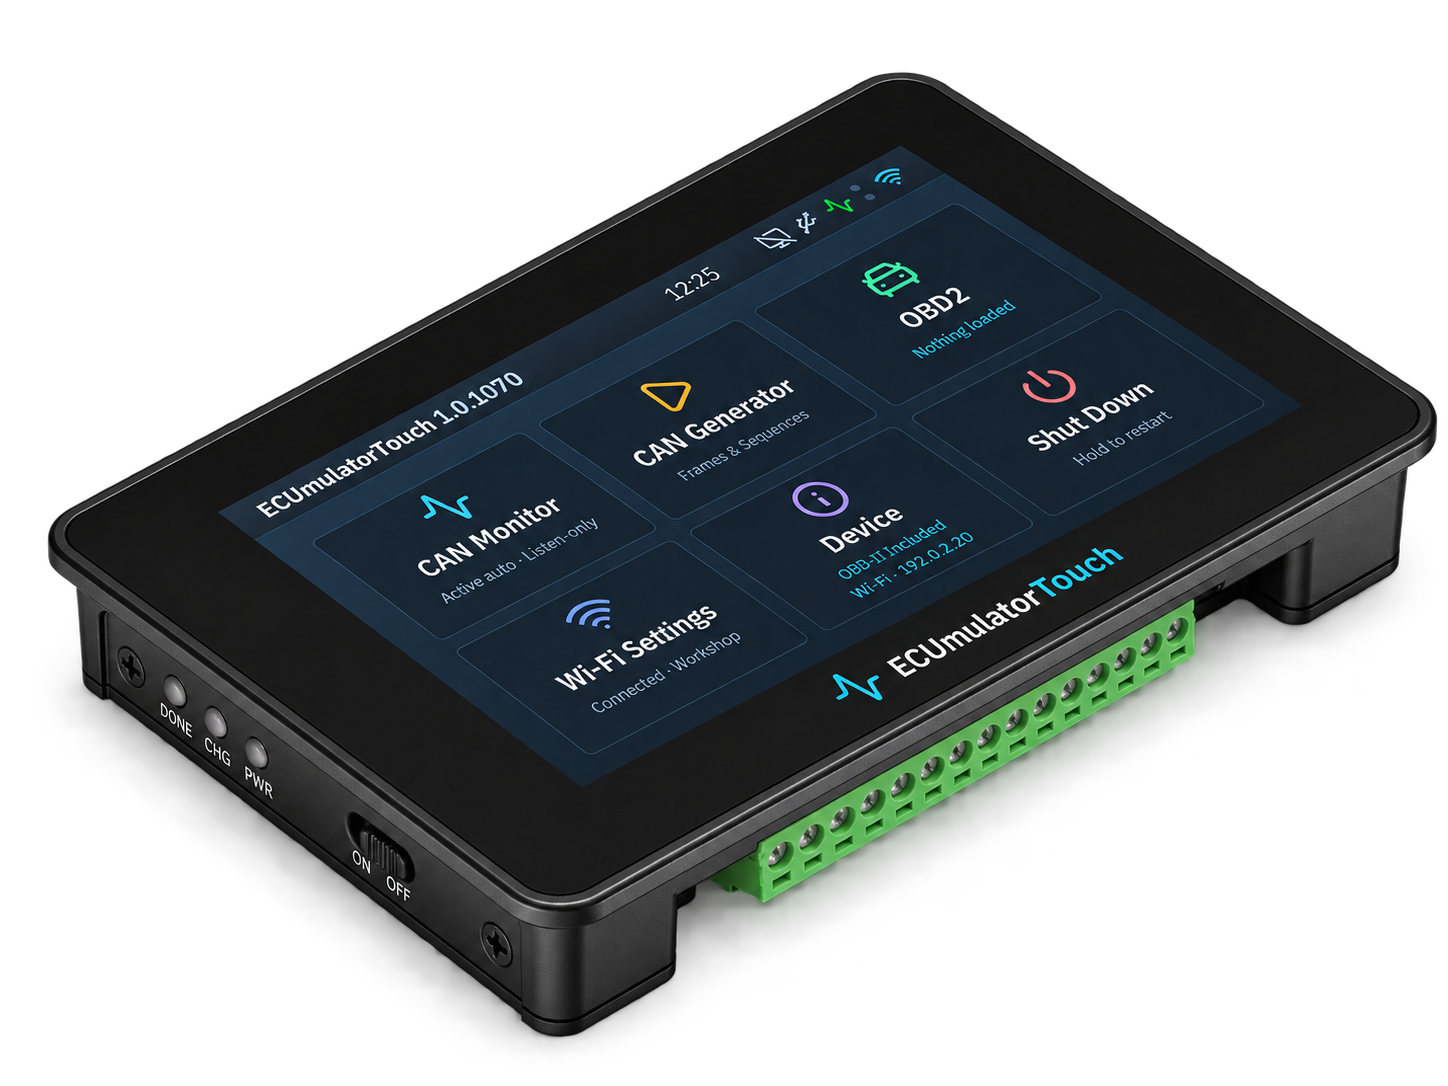
By the way, I caught myself getting quite excited about seeing around 40 mA at 5 V with Wi-Fi switched off. The subsequent discussion was about how long I could run it from a powerbank. Apparently that’s where my mind goes once the emulator finally does what I want.
AI helped with the implementation, the product illustrations, and the typing here. The wish list comes from ten years of wanting a better ECU emulator, and I’m very happy to finally have it on my desk.
If you develop diagnostic software, test adapters, or teach people how a scanner talks to a vehicle, you guys might find this useful too. The CANsole website has more pictures, the illustrated manuals and the practical details. I’d love to hear what you’d put on the other end of its CAN cable.
Cheers, :M: